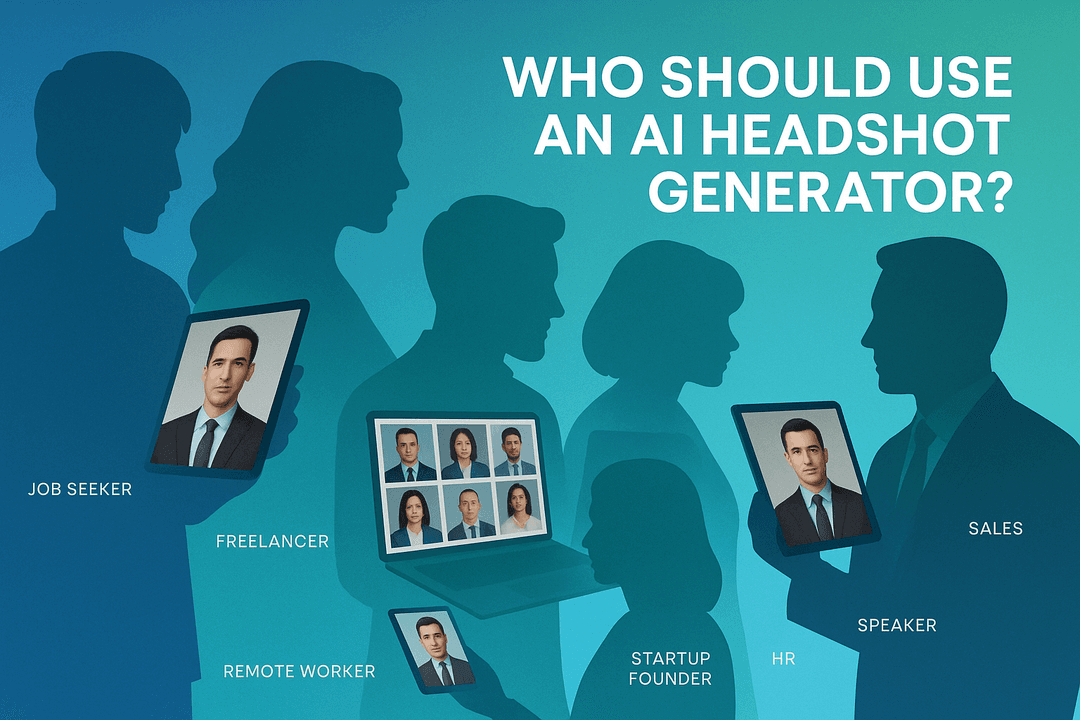
How to Create a Professional AI Headshot in Three Minutes
A Zero-Jargon Guide for Instant Professionalism
Published on Dec 21, 2024

In today's fast-paced digital world, a professional image is more important than ever. But who has the time or budget for a traditional photoshoot? Fortunately, AI technology has revolutionized the process, allowing you to generate a stunning, studio-quality headshot from the comfort of your home in about the time it takes to brew a cup of coffee. This guide will walk you through the entire process, step-by-step, without any confusing technical jargon. We'll transform a simple selfie into a polished, professional portrait in just three minutes. This process is designed to be simple, efficient, and effective, empowering you to create a high-impact professional image with minimal effort.
Step 1: The Perfect Source Image (60 Seconds)
The quality of your AI-generated headshot is fundamentally dependent on the quality of the photos you provide. The AI needs clear information to work its magic. Think of it as giving a great artist the best possible canvas. You don't need a professional camera; your smartphone is more than capable. The key lies in how you take the photo.
- Lighting is Everything: Find a source of soft, natural light. Facing a window during the daytime is ideal. Avoid harsh overhead lighting, which can create unflattering shadows, and avoid backlighting, which can put your face in silhouette. The goal is even illumination across your face.
- Choose a Neutral Background: A plain wall or a simple, uncluttered background works best. This helps the AI easily distinguish you from your surroundings, leading to a cleaner extraction and more professional results. A busy background can confuse the algorithm.
- Camera Position: Hold your phone at eye level. A shot from too low can look unflattering, while a high angle can appear unprofessional. Use the self-timer or ask a friend to take the picture to avoid the "selfie arm" look. Aim for a simple head-and-shoulders composition.
- Clear Facial Expression: Look directly at the camera. A gentle, natural smile is usually the most effective expression, conveying approachability and confidence. Ensure your eyes are open and your entire face is clearly visible. Remove sunglasses or hats.
- Upload Multiple Photos: Most AI generators work best when given a variety of images. Upload 5-10 photos with slightly different angles and expressions. This gives the AI more data to understand the unique features of your face, resulting in a more accurate and natural-looking final product.
Step 2: Select Your Style (60 Seconds)
This is where you get to play the role of creative director. Once your photos are uploaded, the AI headshot generator will present you with a range of styles. This is the most crucial step for tailoring the final image to your specific professional needs and personal brand. Don't rush this part; consider the context where you'll be using the headshot.
Consider these common styles:
- Corporate/Business: This style typically features classic studio lighting, a neutral background (like gray or blue), and professional attire such as a suit or blazer. It's the perfect choice for LinkedIn, company websites, and formal business proposals. It communicates authority and professionalism.
- Creative/Artistic: If you're an artist, designer, or writer, you might opt for a style with more dramatic lighting, a more textured background, or a more expressive mood. This can help showcase your personality and creative flair.
- Casual/Approachable: For professionals in less formal industries, like tech startups or wellness, a more casual style can be more effective. This might feature softer lighting, an outdoor or office-like background, and more relaxed clothing. It helps you appear more relatable and down-to-earth.
Browse the style library and select the one that best aligns with your career goals. The preview function is your best friend here. Click through the options to see a glimpse of how your final headshot might look. This choice defines the entire aesthetic of your new professional identity.
Step 3: Generate and Refine (60 Seconds)
With your photos uploaded and your style selected, you're ready for the final step. Simply click the "Generate" button. The AI will now go to work, analyzing your facial features from the uploaded images and seamlessly integrating them into the professional style you chose. This process involves complex algorithms that handle lighting, shadows, skin texture, and background compositing, all happening in the cloud in a matter of moments.
After a short wait, the generator will present you with a gallery of new headshots. You'll likely receive a dozen or more variations. Now, it's time to curate:
- Review the Results: Scroll through the generated images. Look for the options that feel the most authentic to you. Does it look like you on your best day? Check for any strange artifacts or unnatural-looking features, though modern AI has become exceptionally good at avoiding these.